
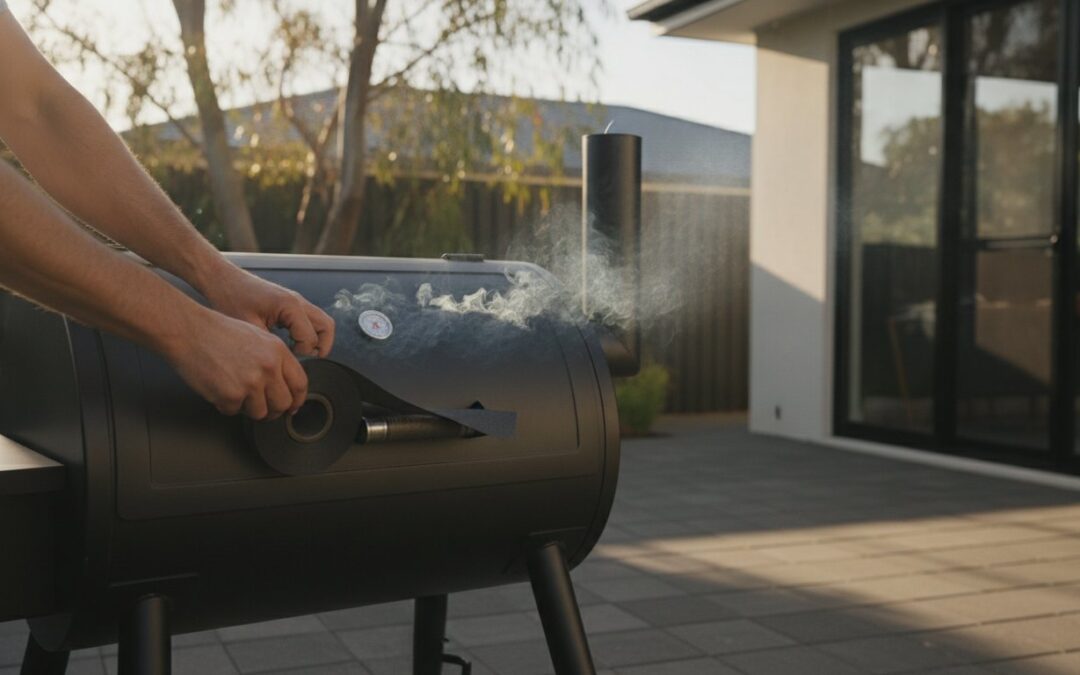
A smoker leak is not just a loss of smoke; it’s a loss of oxygen control that prevents you from ever mastering the fire. You’ve likely felt the frustration of fighting wild temperature fluctuations while your expensive charcoal or smoking wood burns away for nothing. Most factory-built rigs lack the precision seals required for high-level performance. Learning how to stop a smoker leaking is the single most important upgrade you can make for your equipment.
This guide provides the professional steps to identify, seal, and prevent leaks for total temperature control and maximum fuel efficiency. We’ll examine the specific use of high-temperature RTV sealants and self-adhesive gaskets to create a rock-solid, airtight cook chamber. You’ll learn to achieve predictable 12-hour burn times and the consistent blue smoke that only comes from perfect airflow management. By the end of this guide, your rig will perform like a custom-built machine with the reliability you expect from professional gear.
Key Takeaways
- Understand the physics of air intrusion and how uncontrolled oxygen destroys temperature stability and fuel efficiency.
- Master the diagnostic smoke test to pinpoint air gaps and learn exactly how to stop a smoker leaking with professional precision.
- Identify the essential sealing materials, including Nomex gaskets, RTV silicone, and toggle latches, to create a permanent, heat-resistant barrier.
- Execute technical installation steps, from critical surface preparation to correct gasket placement, for a reliable, airtight seal.
- Optimize your cook with premium hardwood lump charcoal to maintain stable heat and perfect smoke quality once your rig is sealed.
Why a Leaking Smoker Destroys Your Temperature Control
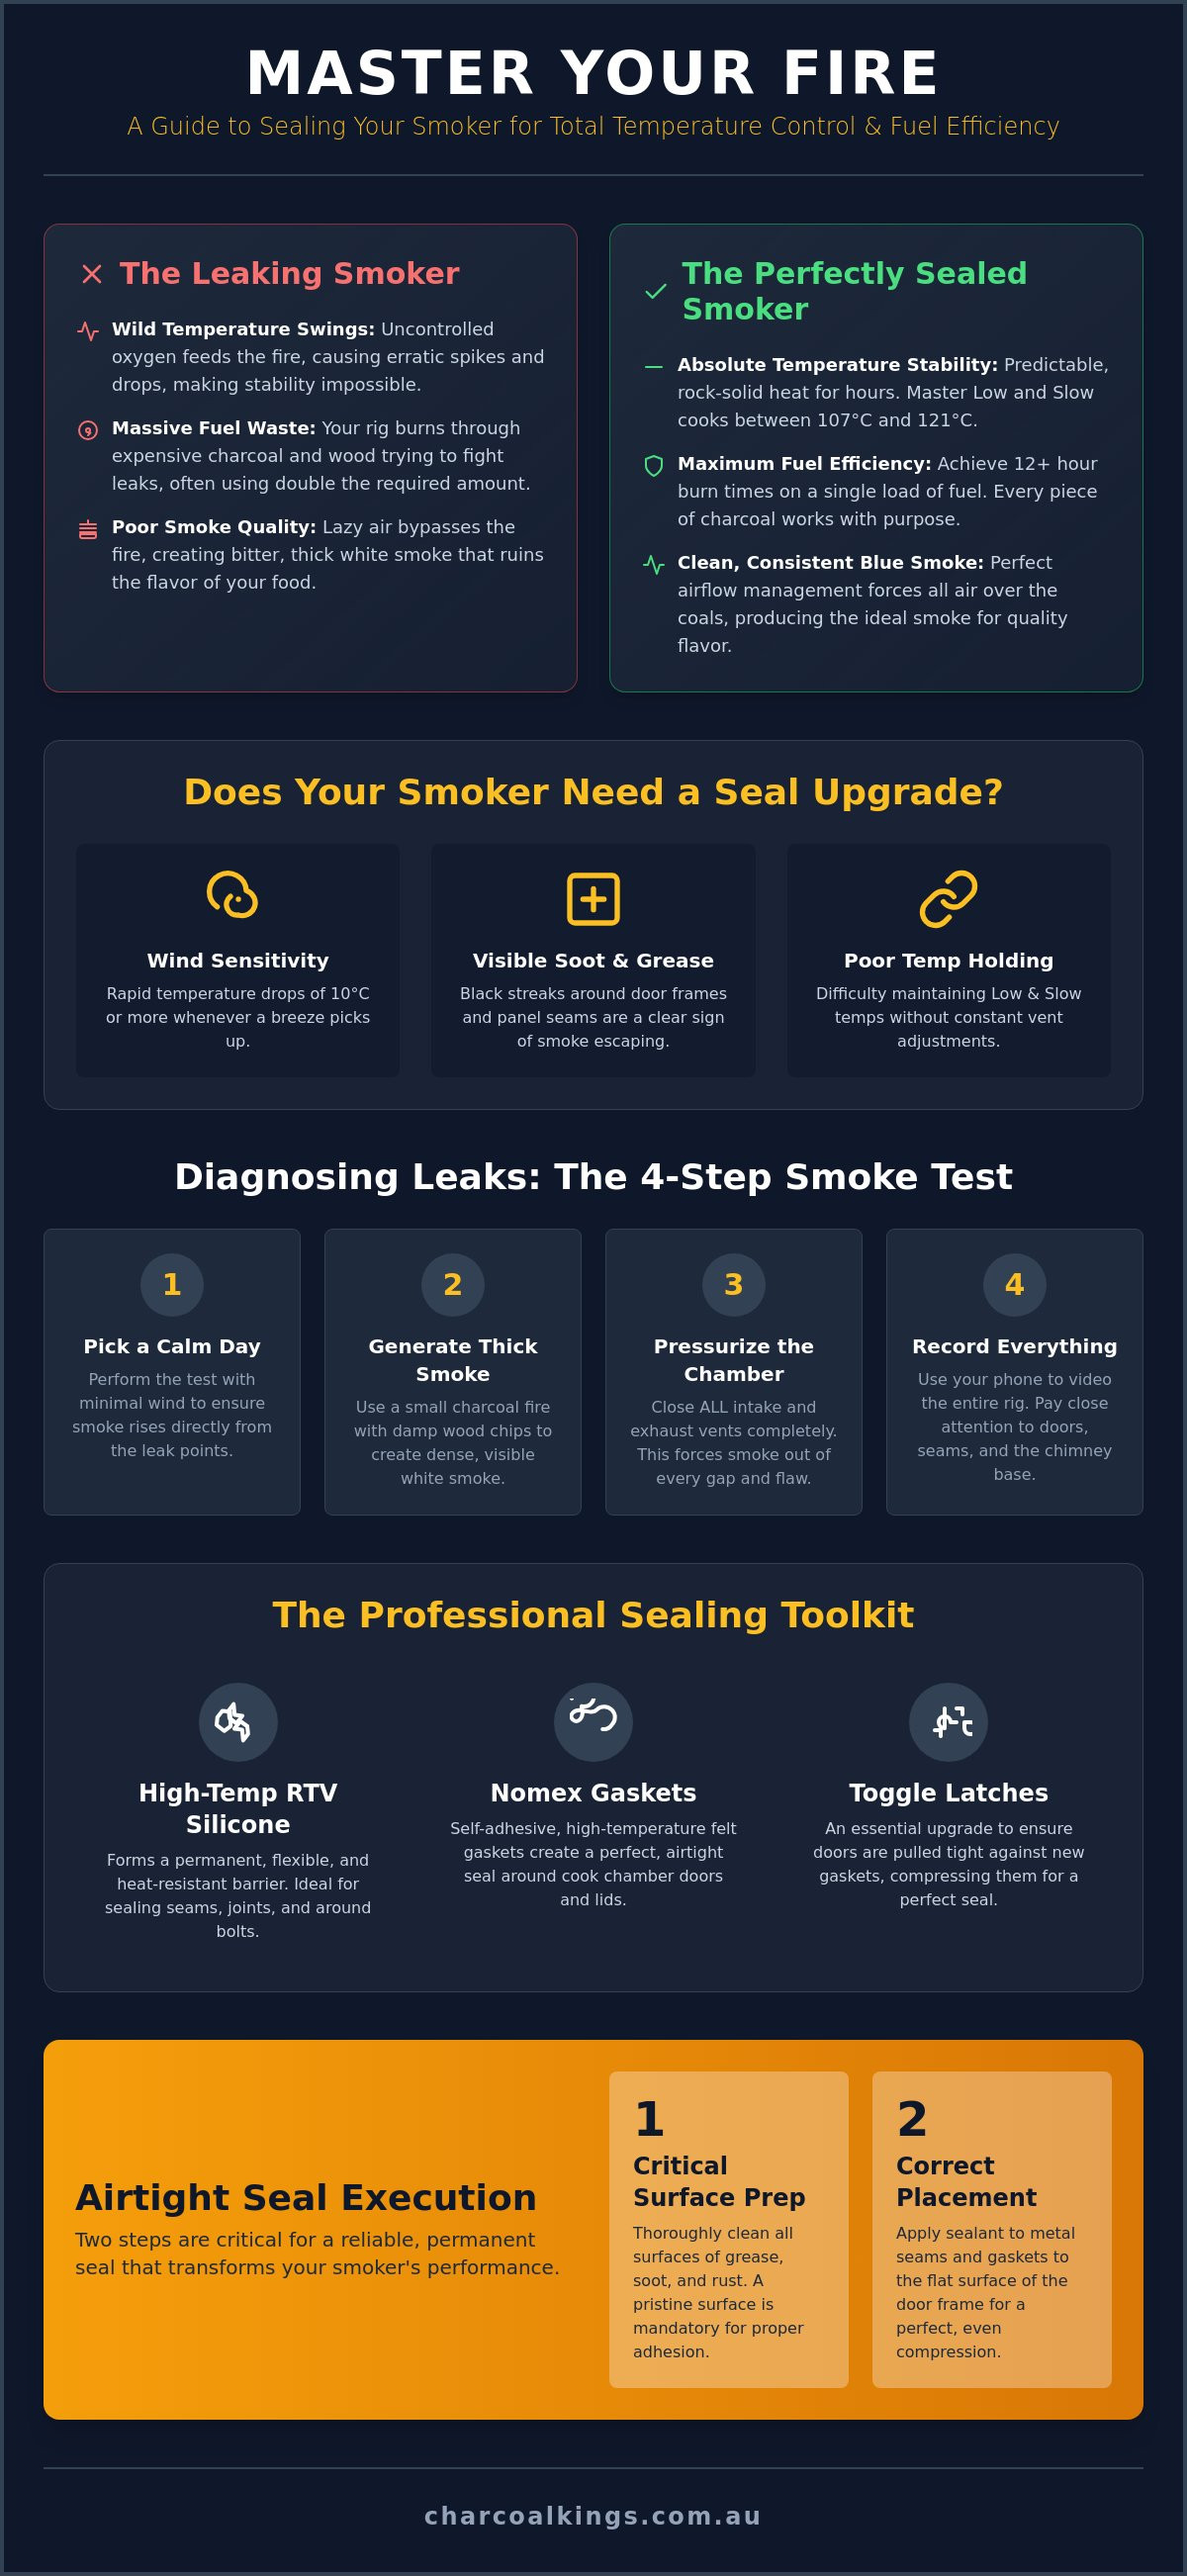
A smoker leak is defined as any point where air enters or smoke exits outside of your designated intake and exhaust vents. While minor wisps might seem harmless, they represent a total loss of control over your fire. When you learn how to stop a smoker leaking, you move from fighting your equipment to mastering it. Uncontrolled air gaps turn your cook chamber into a chaotic environment where the laws of thermodynamics work against you.
The physics aren’t complicated. Fire requires oxygen to burn. When air enters through leaky door seals or loose fittings, it provides a constant, unregulated supply of fuel for the embers. This causes your fire to burn faster and hotter than intended, making it impossible to stabilize. Understanding the process of smoking food requires knowing that temperature stability is the foundation of quality bark and tender meat.
To better understand this concept, watch this helpful video:
Poor seals lead to massive fuel waste. A leaking rig consumes significantly more lump charcoal as the fire rages out of control. You end up burning through your supply just to maintain a temperature that should be achievable with half the fuel. Sealing the chamber ensures that every piece of charcoal burns with purpose, providing the efficient, long-lasting heat needed for overnight cooks.
Just as minimizing fuel waste is essential for a perfect cook, maintaining efficiency in your business or personal portfolio is key to long-term success; for expert financial guidance, check out KHT Accounting & Wealth.
Some hobbyists fear that an airtight smoker creates stale smoke. This is a myth. A sealed rig improves smoke quality by forcing all air to pass through the intake vent and over the coals. This creates a clean, consistent draft. Leaks allow lazy air to bypass the fire, leading to poor combustion and the bitter, thick white smoke that ruins a brisket.
The Difference Between Drafting and Leaking
A functional smoker must have a draft to pull clean smoke over the meat and out the chimney. This is intentional airflow. Leaking is accidental. It occurs when air enters near the cook chamber doors, creating localized hot spots. These temperature spikes can dry out specific sections of your meat while the rest of the chamber remains at the target temperature. Controlled drafting comes from the vents; everything else is a failure of the seal.
Signs Your Smoker Needs a Seal Upgrade
Your equipment often provides clear warnings when the seals have failed. Identifying these signs is the first step in learning how to stop a smoker leaking and reclaiming control of your cook. Look for these specific indicators:
- Rapid temperature drops of 10°C or more whenever the wind picks up.
- Visible black soot marks or grease streaks around the exterior of door frames.
- Difficulty holding Low and Slow temperatures between 107°C and 121°C for more than an hour without constant vent adjustment.
Diagnosing the Leak: How to Perform a Smoke Test
You can’t fix what you can’t see. While some suggest watching for leaks during a normal cook, this is inefficient. Wind and thin blue smoke often mask the very gaps that destroy your efficiency. To learn how to stop a smoker leaking, you must first perform a dedicated diagnostic smoke test. Choose a cool, calm day with minimal wind. Any breeze will pull smoke away from the seams before you can spot the exit point.
Start by firing up a small chimney of charcoal. Once the coals are lit, add several handfuls of damp wood chips. This produces the thick, heavy, white diagnostic smoke required to highlight every structural flaw. Place the fire in the firebox and close the lid. Immediately shut all intake and exhaust vents completely. This action pressurizes the chamber, forcing smoke out of any unintended openings. Use your phone camera to record the entire rig. These recordings serve as your repair map, ensuring you don’t miss a single gap once the metal cools.
Most guides focus exclusively on door gaskets. They miss the critical joins where metal meets metal. Citing troubleshooting temperature leaks confirms that even small gaps around seams lead to massive temperature inaccuracy. Pay close attention to the base of the chimney stack and the main cook chamber door. These are high-pressure zones where heat naturally seeks an exit. Before you begin the physical repairs, ensure you have the right BBQ accessories on hand to manage the cleanup and preparation.
Common Leak Points in Offset Smokers
The main cook chamber door is the most frequent culprit, often due to thin gauge metal warping over time. However, the join where the firebox meets the cooking chamber is equally vital. If this connection isn’t airtight, you’ll lose heat before it even reaches your meat. Check the chimney stack pipe base; if smoke escapes here, your draft is compromised. Document these areas carefully during your smoke test.
Checking the Firebox Seals
Firebox leaks are arguably more dangerous than chamber leaks. While a door leak lets heat out, a firebox leak lets oxygen in. This creates massive temperature spikes that are impossible to damp down. Inspect the ash clean-out door and the lid for signs of warping. High-intensity heat in the firebox often bends steel over time, creating large gaps. Test the integrity of the pipe for smoker joins specifically. If the connection between the fire source and the chamber is compromised, you’ll never achieve a clean burn. A professional offset smoker requires every join to be airtight to maintain the purity of the fire.
The Best Materials for Sealing a BBQ Smoker
Mastering how to stop a smoker leaking requires professional-grade components. You can’t rely on standard household materials. The “Big Three” solutions for a rock-solid rig are Nomex or LavaLock gaskets, high-temperature RTV silicone, and toggle latches. Each serves a specific mechanical purpose. Gaskets provide compression for doors. Silicone seals fixed metal joins. Latches apply the physical force needed to keep the seal tight under heat.
Never use standard hardware store weatherstripping. These foam or rubber strips are designed for windows, not fire. They will melt at low temperatures and release toxic fumes into your cook chamber. Only use materials with a food-safe or food-contact rating. Smoke carries every chemical it touches directly onto your meat. High-quality materials ensure purity and performance.
Choosing between felt-style and wire-mesh gaskets depends on your equipment. Nomex felt gaskets are the industry standard for most offset and drum smokers. They are heat-resistant, affordable, and easy to replace. Wire-mesh gaskets offer superior durability for heavy commercial lids. However, they require significant compression force from toggle latches to create an airtight seal. For most hobbyists, Nomex provides the best balance of ease and performance.
High-Temperature RTV Silicone Sealants
RTV silicone is the best solution for fixed metal joins. Use it where the chimney meets the cook chamber or where the firebox bolts to the frame. The industry standard is Red RTV, rated for temperatures up to 650°F. This exceeds the requirements for any Low and Slow cook. For areas with lower heat exposure, Black RTV rated to 450°F is sufficient. Always allow a full 24-hour cure time before firing the rig. If a door is severely warped, apply a thick bead of silicone, cover it with plastic wrap, and close the door. This creates a custom-molded gasket once cured.
Nomex and Felt Gasket Tapes
Gasket tapes come in various thicknesses, typically 1/8 inch or 1/4 inch. Choose 1/8 inch for tight-fitting doors and 1/4 inch for larger gaps identified during your smoke test. Self-adhesive Nomex is convenient, but the glue can fail in extreme heat. For a permanent fix, use a dedicated high-temp adhesive. These gaskets do more than stop leaks. They add thermal mass to the door frame, helping to maintain seal integrity as the metal expands and contracts. This is a critical technical step in learning how to stop a smoker leaking for the long term.
Step-by-Step Guide to Sealing Your Smoker
Sealing a rig is a technical operation. It requires a disciplined sequence to ensure the materials bond for the long term. If you want to master how to stop a smoker leaking, you must move beyond temporary fixes. A professional seal transforms a standard backyard unit into a high-performance machine capable of holding steady temperatures for hours. This process demands patience and the right professional BBQ accessories to get the job done correctly.
The most common mistake is applying gaskets to the door itself. Always apply the gasket to the cook chamber frame instead. This prevents the door edges from snagging or pulling the material loose when you open and close the lid. For the critical join where the firebox meets the chamber, apply a thick, continuous bead of high-temperature RTV silicone. This area experiences extreme thermal expansion; a solid silicone bond is the only way to maintain an airtight connection. A rock-solid seal ensures your fire receives only the oxygen you allow through the intake.
Surface Preparation Techniques
Surface preparation is the most critical step. Adhesive will not bond to grease, soot, or old paint. Use a heavy-duty degreaser and a stiff wire brush to strip the contact areas down to bare metal. Once the residue is removed, wipe every surface with isopropyl alcohol. This removes any remaining oils and ensures a surgical level of cleanliness. Ensure the rig is completely cold before starting. Working on warm metal is dangerous and will cause adhesives to set prematurely, ruining the bond.
Installing Toggle Latches for a Pro Seal
Heavy-duty toggle latches provide the mechanical pressure that gaskets alone cannot achieve. This is especially true for cheap, thin-gauge steel smokers that tend to warp under high heat. Align the latch so it pulls the door down and in against the gasket. This creates a compression seal that blocks every air path. For most backyard DIYers, drilling and bolting the latches is the most practical method. It offers a secure fit without the need for welding equipment. If you want a rig that performs like a pro, mechanical compression is non-negotiable.
Curing and First Burn
Do not rush the process. Wait at least 24 hours for all silicone and adhesives to cure fully before firing the rig. Once cured, perform a seasoning burn. Use a small amount of clean fuel to bake in the seals and check for any chemical odors. This burn also allows the metal to expand under heat. Use this opportunity for a final adjustment by tightening your toggle latches while the rig is hot. This ensures the seal remains rock-solid during your next 12-hour cook. Achieve the perfect fire by using pure hardwood lump charcoal for a clean, additive-free burn. Let’s get smoking!
Optimising Performance After the Seal
Once the seals are cured, the technical behavior of your rig will change. You’ve successfully addressed how to stop a smoker leaking, which means oxygen intake is now restricted entirely to your control vents. This increased precision requires a re-learning period. A sealed rig responds much faster to minor intake adjustments than a leaking one. In the past, you might have left vents wide open to compensate for poor drafting. Now, a small move of the intake slider can result in a 10-degree temperature shift within minutes. Precision is now your primary advantage.
Monitoring airflow becomes a simplified process when you aren’t fighting leaks. Use the top vent, or exhaust, as your primary tool for maintaining a clean draft. If you see smoke escaping from the doors, check your toggle latches for tightness. Metal expands when hot, and a latch that felt secure during a cold test might need a quarter-turn adjustment mid-cook to maintain the seal. Consistent maintenance is the only way to ensure your gaskets last. Wipe them down with a damp cloth after each session to remove grease. If grease builds up, the gaskets will stick to the frame and tear when you open the lid.
Vent Management in an Airtight Rig
Effective airflow management relies on the “Intake Rule.” You should rarely close the exhaust vent more than 50%. Keeping the top vent mostly open ensures that spent gases exit quickly, preventing the bitter creosote buildup associated with “stale” smoke. Use the bottom intake vent as your primary thermostat. In a sealed chamber, this setup prevents the billowing white smoke caused by incomplete combustion. You are now forcing the fire to pull air directly through the coals. This results in the clean, thin blue smoke that defines professional BBQ.
Choosing the Right Fuel for a Sealed Smoker
Fuel behaves differently in a sealed environment. In a leaking rig, low-quality fuel might stay lit simply because air enters from every gap. Once airtight, your fire depends entirely on the purity and quality of your fuel. Standard briquettes often produce excessive ash that can choke a tightly sealed, small-offset rig, leading to restricted airflow. For stable heat and minimal residue, premium hardwood lump charcoal is essential. It provides a higher heat-to-mass ratio and burns significantly cleaner than compressed alternatives.
For those seeking the highest level of performance, Binchotan charcoal offers unmatched longevity and heat consistency. Its extreme density allows for a slow, steady release of infrared heat without the rapid oxygen consumption of softer woods. This makes it ideal for sealed rigs where airflow is strictly metered. A sealed rig fueled by high-grade charcoal is the ultimate setup for predictable, competition-quality results. Ready to test your new seal? Stock up on premium Australian Hardwood Charcoal here.
Master Your Fire with a Professional Seal
A rock-solid, airtight cook chamber is the difference between fighting your smoker and mastering the fire. By following the technical steps of the smoke test and applying high-temperature gaskets and RTV silicone, you’ve learned exactly how to stop a smoker leaking. This structural upgrade ensures that every bit of oxygen is metered through your vents; giving you total control over the drafting process. You’ve transitioned from a leaky, unpredictable rig to a high-performance machine capable of holding Low and Slow temperatures for 12 hours or more.
With the air gaps closed, the final step is fueling your rig with materials that match its efficiency. A sealed smoker demands purity to maintain clean, blue smoke. We provide expert-grade hardwood charcoal with no additives; the same quality used by professional competition BBQ teams. It’s the most reliable way to ensure your new seals deliver the performance you expect and deserve. For those who want to add a personal touch to their equipment or find tools for other artistic hobbies, you can visit PoscART for a range of high-quality marker sets.
Upgrade your fuel for better temperature control—Shop Charcoal Kings Hardwood Lump. We provide Australia-wide shipping to keep your pantry stocked with the best fuel on the market. Get your rig sealed, get your fire right, and start producing the best BBQ of your life.
Frequently Asked Questions
Is it normal for a brand new smoker to leak smoke?
Yes, smoke leaks are common in most entry-level and mid-range offset smokers. Manufacturers often prioritize production speed over airtight tolerances; leaving gaps in thin-gauge steel units. Learning how to stop a smoker leaking is a standard post-purchase upgrade for serious hobbyists. Even professional rigs benefit from aftermarket gaskets to ensure total precision during long, Low and Slow sessions.
What is the best high-temperature silicone for a BBQ smoker?
Food-safe RTV silicone rated for at least 450°F is the industry standard. Red RTV silicone is the most common choice because it handles temperature thresholds up to 650°F. Ensure the product is specifically labeled as Food Contact Safe. Verified options from brands like LavaLock remain flexible under extreme thermal stress; providing a permanent seal for fixed joins like chimneys and firebox seams.
Do I need to seal the firebox door or just the cooking chamber?
Both areas require professional sealing for total temperature control. A firebox leak is particularly dangerous because it allows unregulated oxygen to enter the fire. This leads to unpredictable temperature spikes and faster fuel consumption. While sealing the cooking chamber prevents heat and smoke from escaping; sealing the firebox ensures you are the only one controlling the oxygen supply to your coals.
Can I use a smoker if the gasket is slightly torn?
You can finish a cook with a minor tear, but performance will suffer immediately. A torn gasket creates an air path that causes localized hot spots and increased charcoal consumption. Replace damaged sections before your next session. This prevents grease from seeping into the tear and compromising the adhesive bond on the rest of the frame; ensuring your seal remains rock-solid for future cooks.
How long do Nomex smoker gaskets usually last?
High-quality Nomex gaskets typically last between one and two years with regular use. Their lifespan depends on your maintenance habits and cooking frequency. Keeping the contact surfaces clean of grease and soot prevents the material from sticking and tearing when you open the lid. If the felt becomes compressed and loses its ability to spring back; it’s time to install a fresh seal.
Will sealing my smoker make it consume less charcoal?
Yes, an airtight rig is significantly more fuel-efficient. When you know how to stop a smoker leaking, you prevent the fire from receiving unregulated oxygen. This allows you to damp down the intake and maintain a slow, steady burn. Many users report a reduction in charcoal usage of 20% to 30% after properly sealing their cook chamber and firebox joins.
Does a leaking chimney base affect the flavour of the meat?
A leaking chimney base disrupts the drafting process. Smoke must travel from the firebox, across the meat, and out the stack to remain clean. If smoke escapes at the base, the draft is weakened. This leads to lazy smoke and creosote buildup; which imparts a bitter, acrid flavor to your meat. A solid silicone seal ensures clean, moving air for superior results.
Can I use felt from a craft store as a smoker gasket?
Never use craft store felt for a smoker. Standard felt consists of synthetic fibers like polyester or acrylic that will melt and release toxic chemicals at low temperatures. Professional smoker gaskets are made from Nomex or fire-retardant materials designed to withstand temperatures exceeding 400°F without degrading. Protecting the purity of your food requires using only expert-grade, high-temperature materials.