

SHOP ONLINE
")


 (1)")

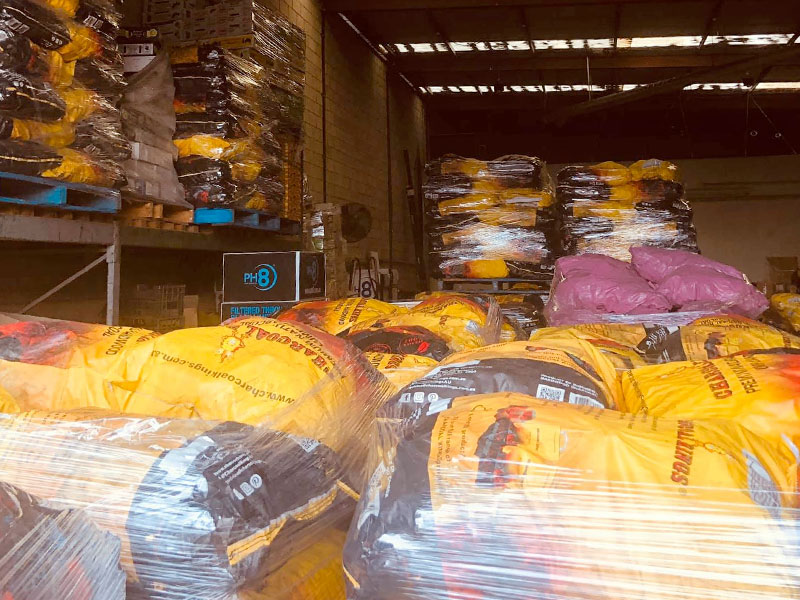
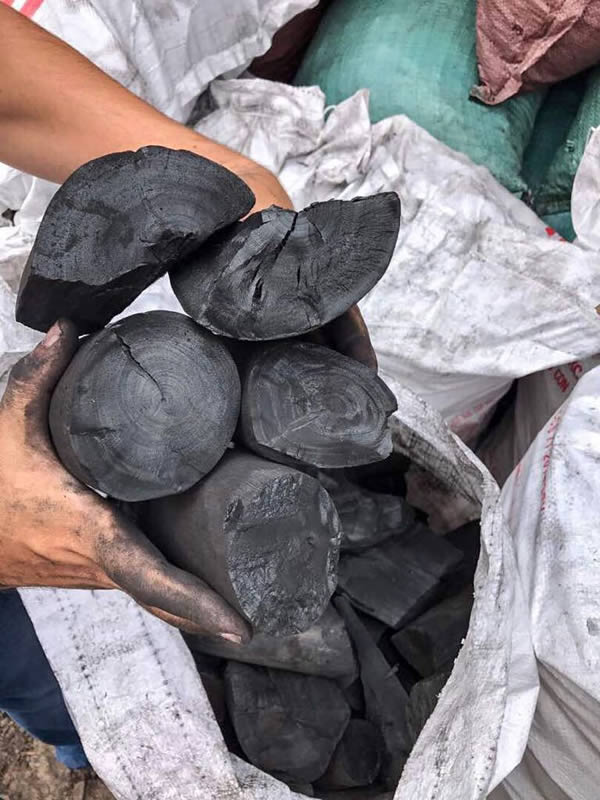
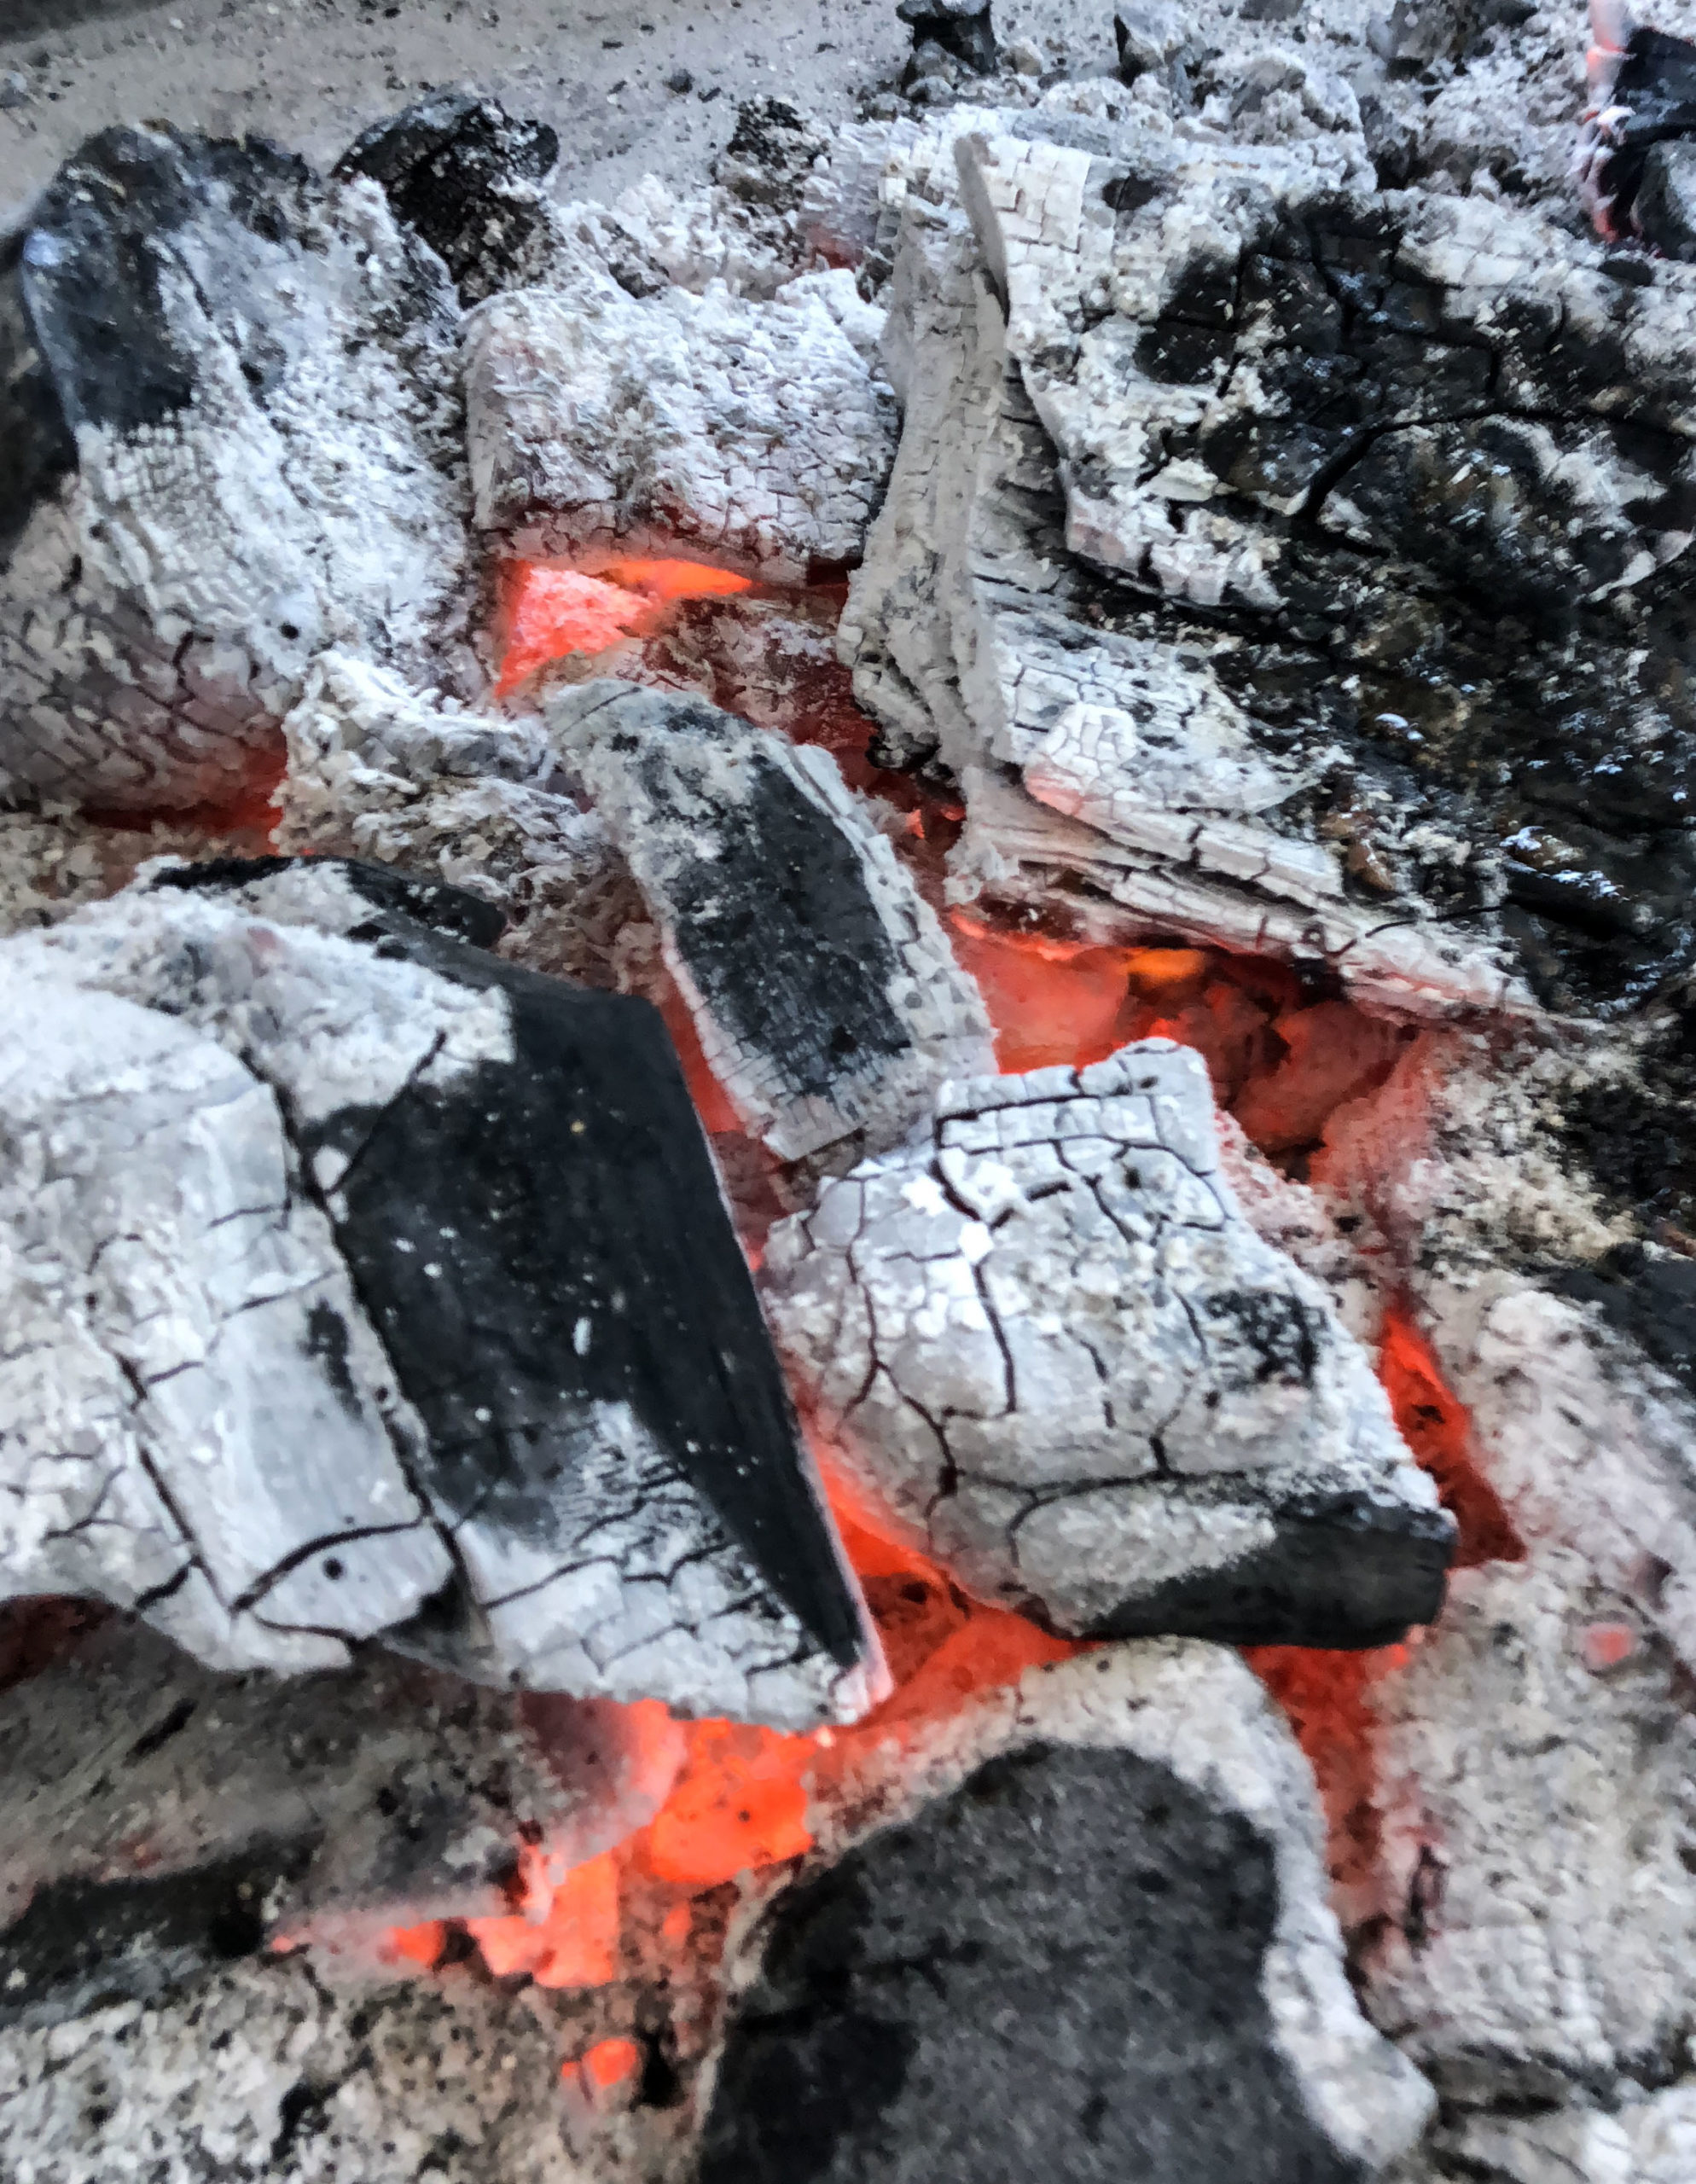
PREMIUM NATURAL HARDWOOD CHARCOAL
-
No chemicals used in the manufacturing of any of our charcoal
-
Premium and Standard grades
-
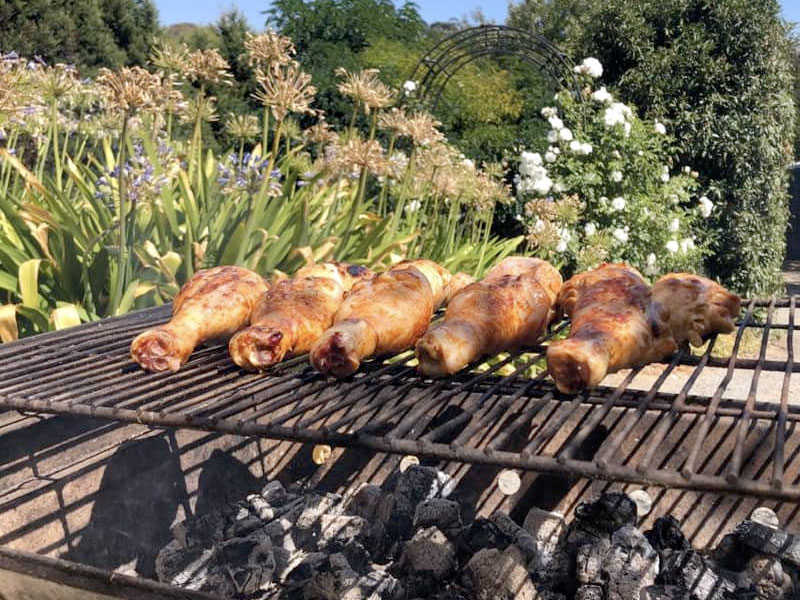
Able to cater for different cooking conditions
-
Flexible packaging options

Stockists
For a list of retail locations please see our Stockists page.
Please contact us if you would like to be a CHARCOAL KING.
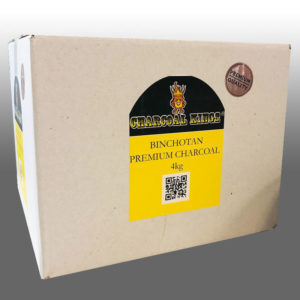
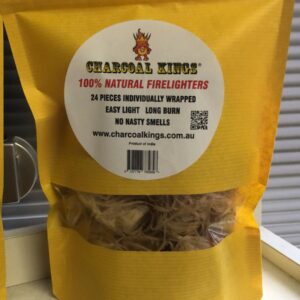
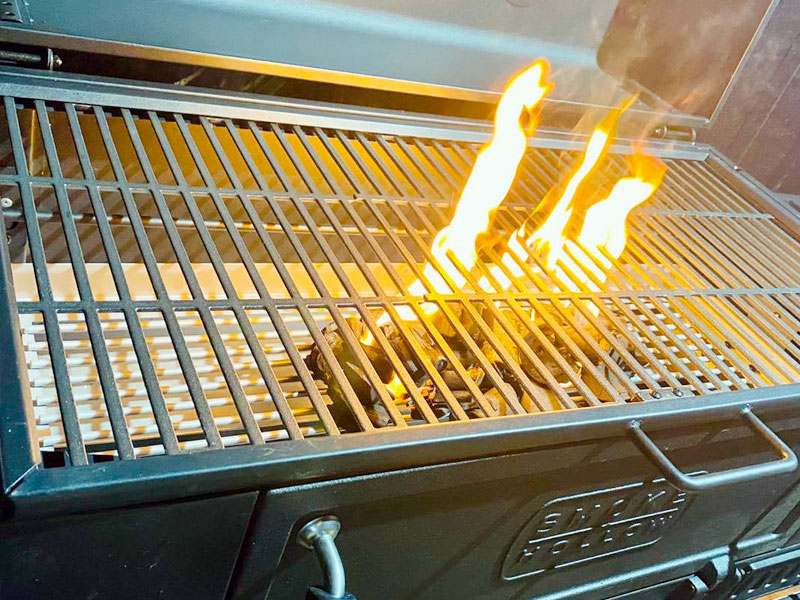
New Product: Easy Burn Charcoal
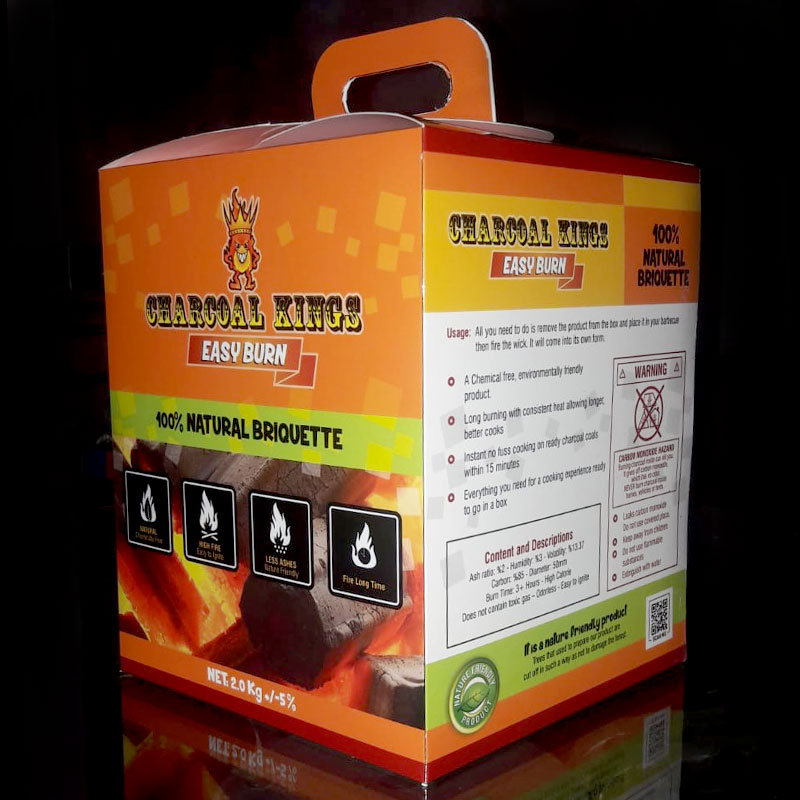
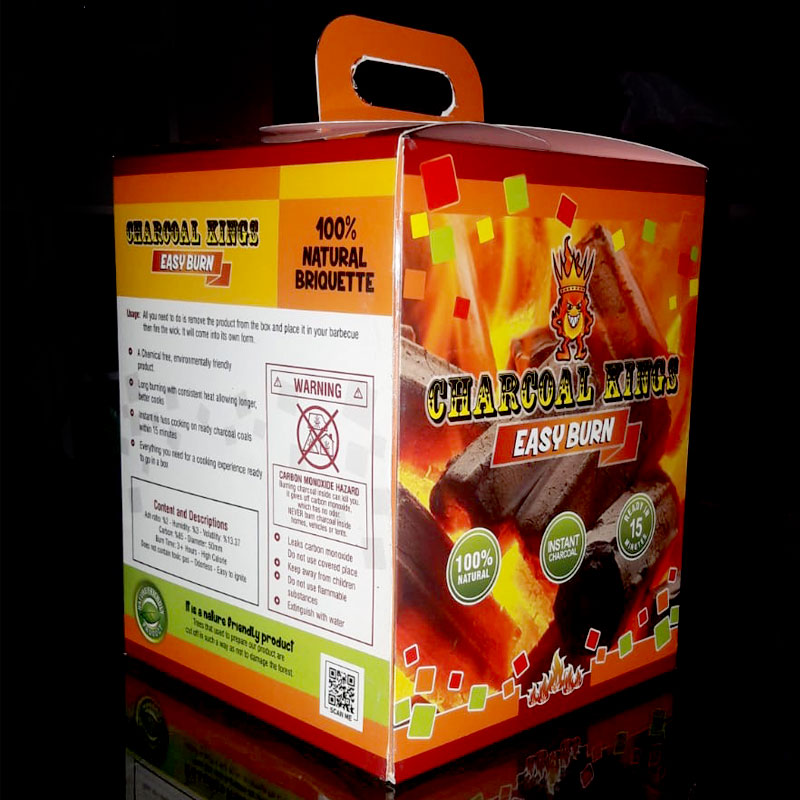
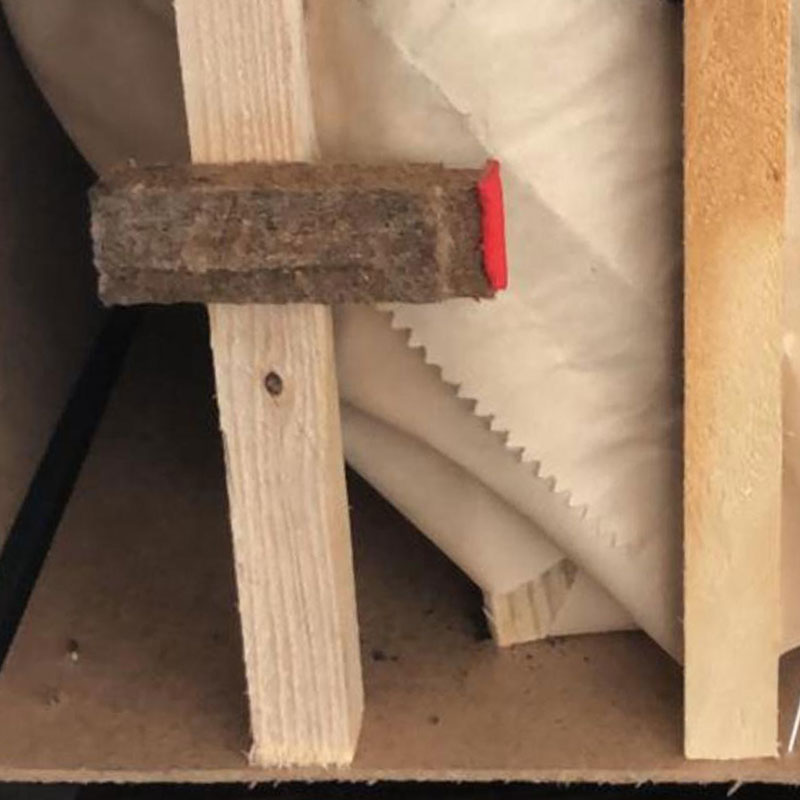
Charcoal in a box, with a convenient patented ignition system that’s allows instant lighting. Our charcoal is made all from organic material without the use of any chemicals during the manufacturing process.
3 Hours burning Time Approx.

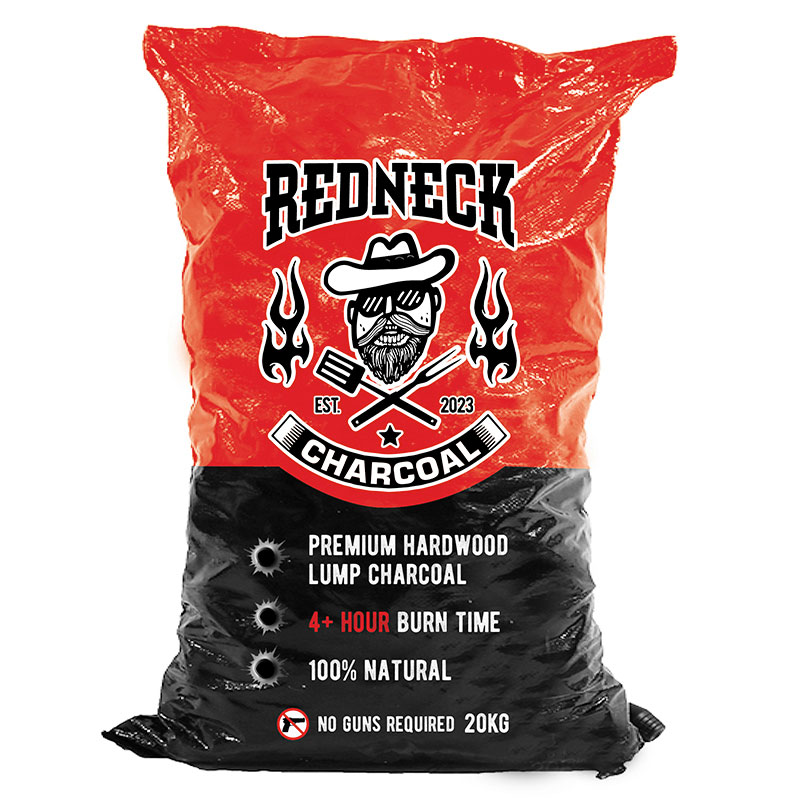
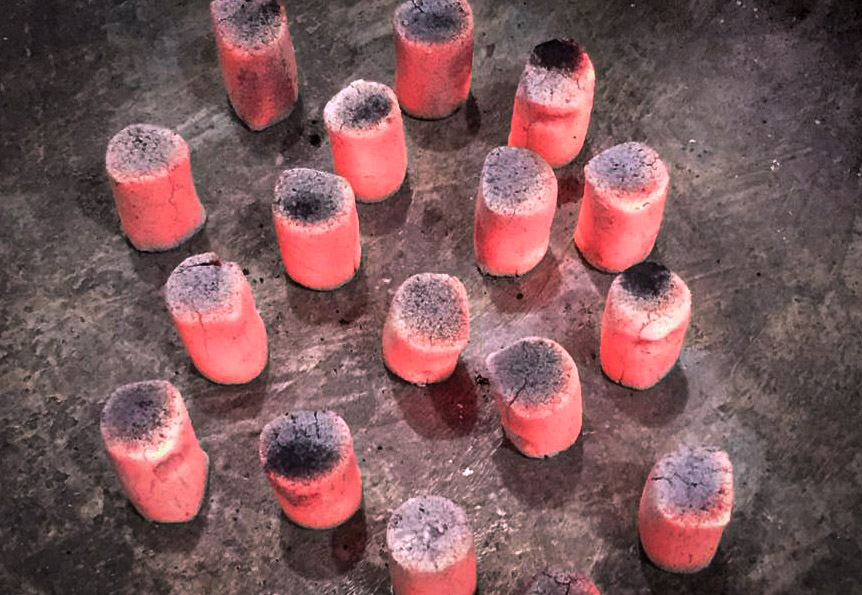
New Product: Redneck Charcoal
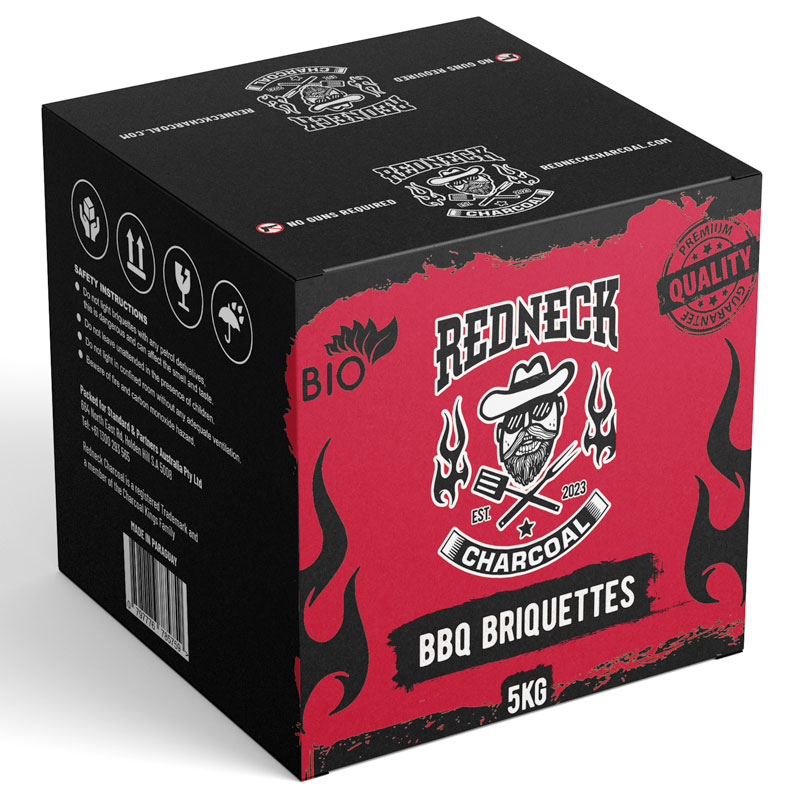
5KG redneck charcoal BRIQUETTES
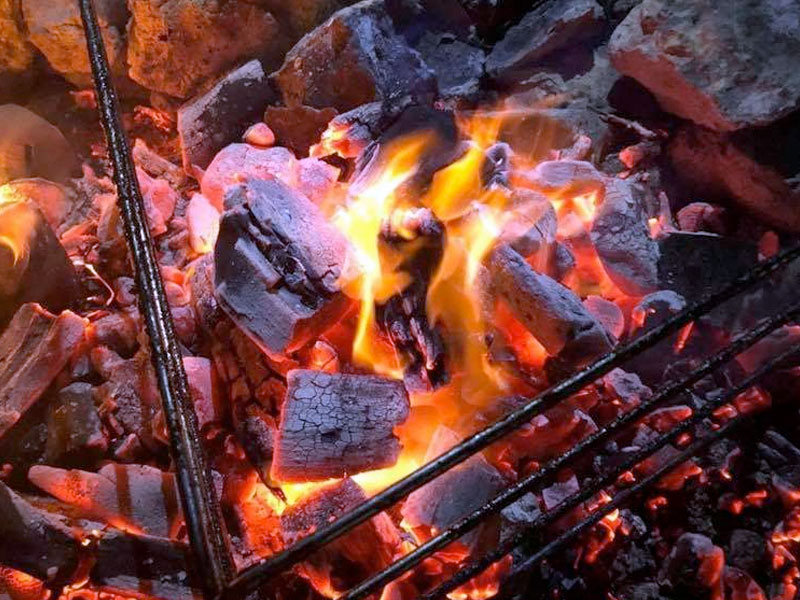
These naturally produced briquettes produce the hottest and longest lasting coals any “Redneck” would truly be proud of!
These briquettes will make a statement in any grill!
20KG redneck PREMIUM HARDWOOD LUMP CHARCOAL
- 4 Hour Burn Time
- 100% Natural.
New Arrivals
Best Selling Products
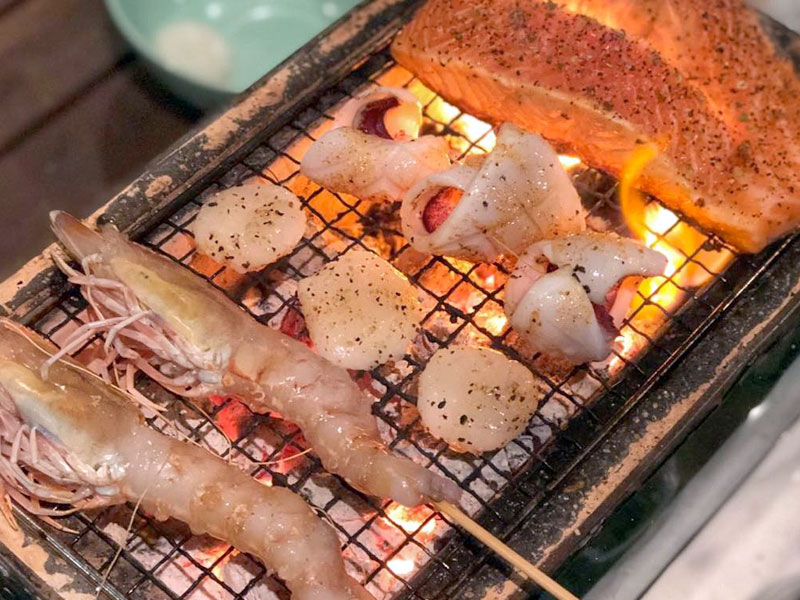
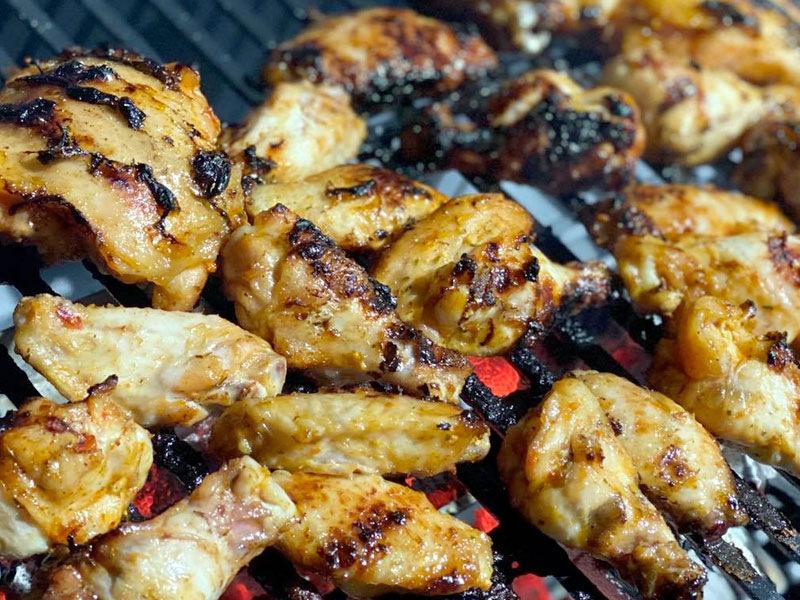
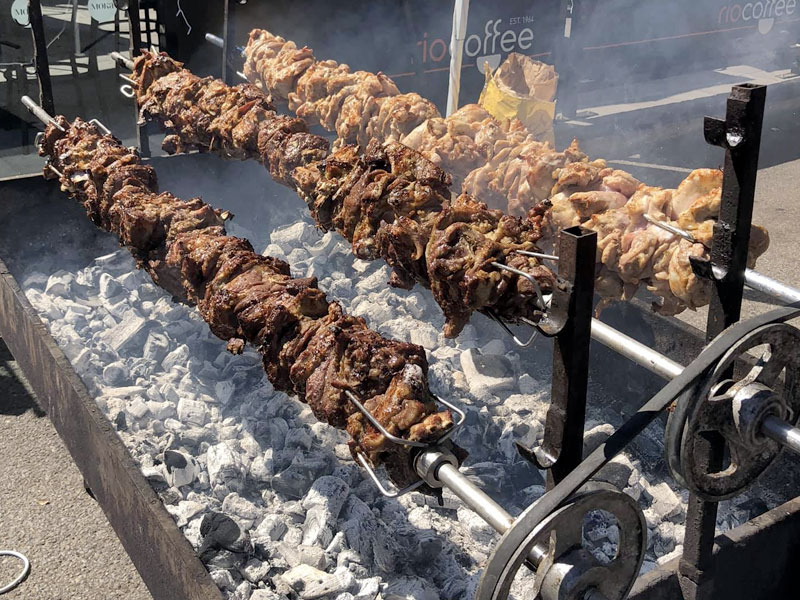
Charcoal packs more potential energy per ounce than raw wood. Char burns steady, hot, and produces less smoke and fewer dangerous vapours.
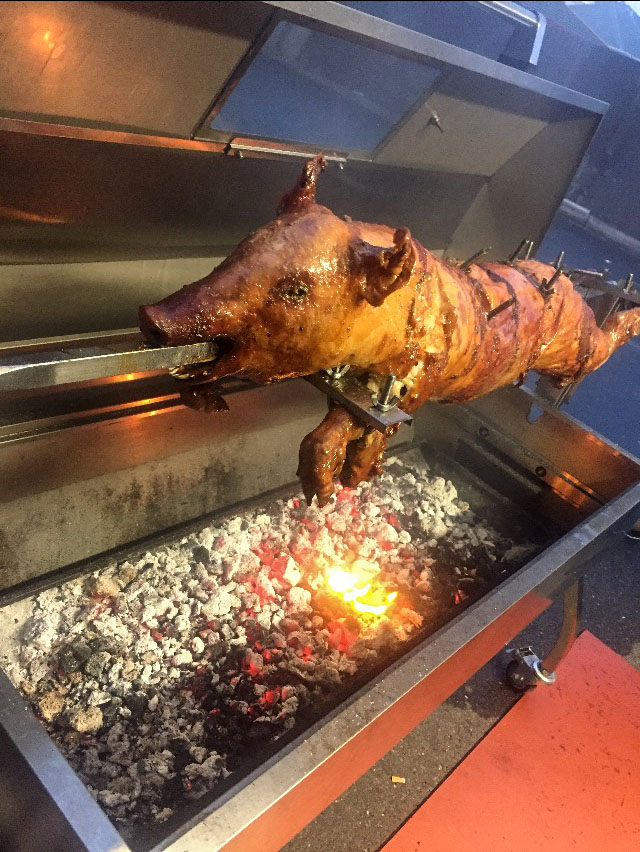
Get Sizzlin’!
Contact Us For
- Retail · Wholesale · Food Services
- Domestic Distribution & Export Inquiries
- Stockist Enquiries
- Any other questions
Address: 664 North East Road, Holden Hill SA 5088
Tel: +61 8 7222 5946
Toll Free: 1300 293 565